Vermont Cider Week
Posted on 3/2/2016 by Steve Robbins
Welcome to Vermont Cider Week!
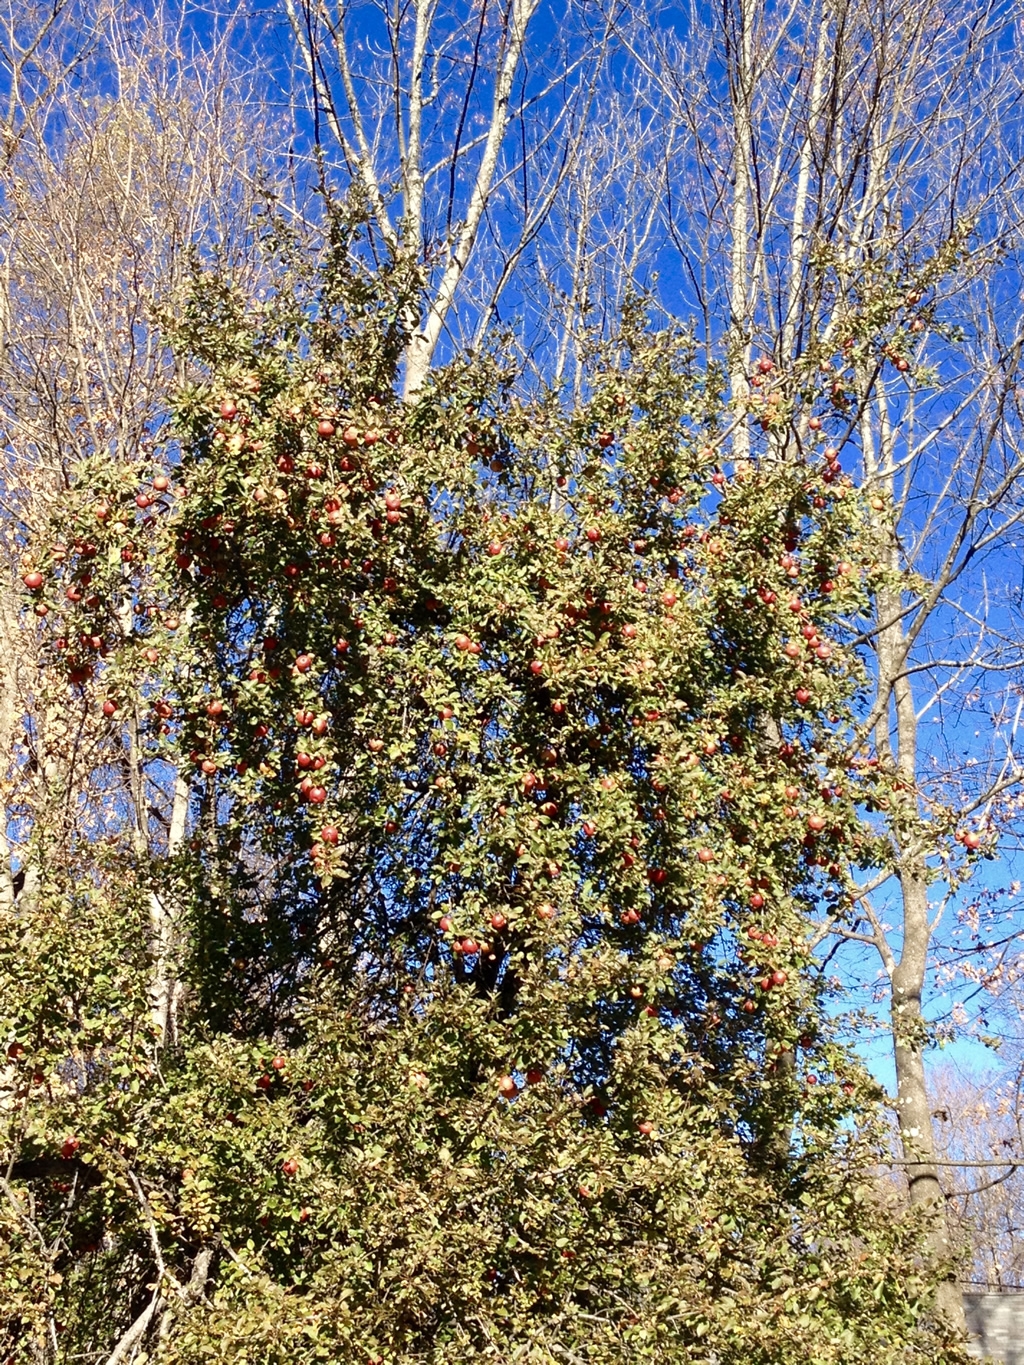 The 2015 apple harvest was awesome! If you passed an apple (or pear or plum) tree starting in August, it was hard not to marvel at the sheer amount of fruits. By late September many trees were bending over with the abundance.
Not every year is so plentiful, so in the midst of Vermont Cider Week this seems like a good time to reflect on making hard cider.
Making hard cider is my 2nd favorite fermentation hobby, right behind home brewing. But really, making cider is much easier and the ingredients are almost entirely "localvore".
Start by gathering a bunch of ripe apples. Big ones, small ones, green, red, they all count. To start, I wouldn't worry about which variety and simply blend them all together.
If you have the time and inclination, you can press one variety at a time and keep notes on which ones taste best sweet versus fermented, but the best cider I've had is always a blend. Also, it seems that really tart apples, the ones that are terrible for eating raw, make the best hard cider.
Next, wash the apples and cull out any rotten or sickly ones.
Then grind them up into a mash. This can be done by a hand-crank method, but if you plan to make more than 5 gallons of cider, get a mechanical grinder.
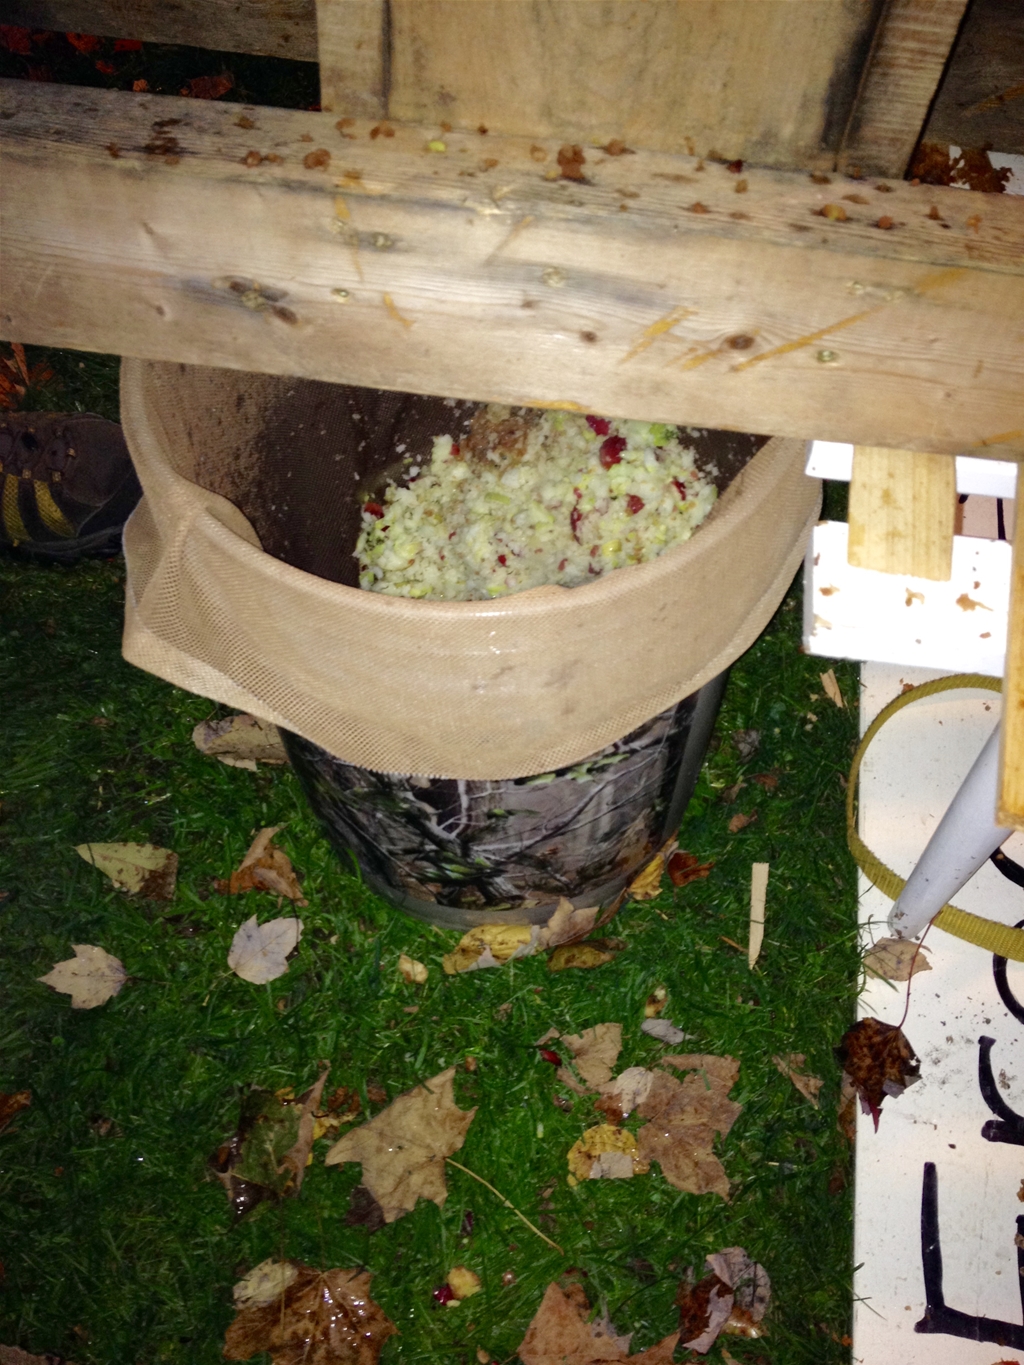
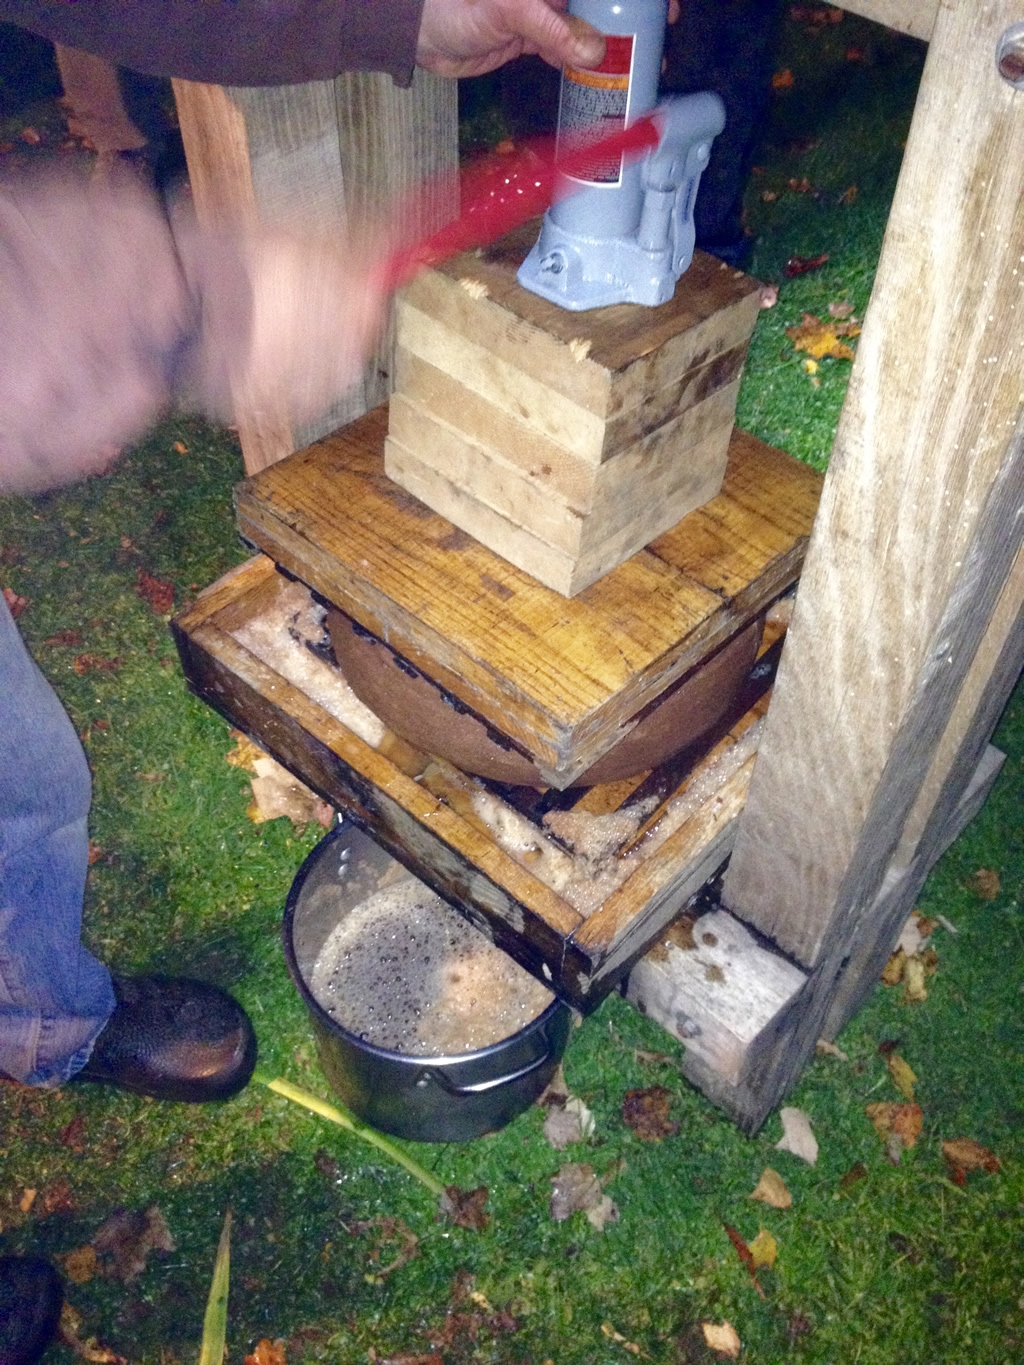
The crushed apples go into mesh bags and the mesh bags go into a cider press and then you just squeeze away. Yup, you need to make friends with someone who has a cider press. Or get really creative with some boards, buckets and a car jack.
Ideally, make at least enough to fill a 5 gallon container; it takes about 2 bushels of apples. Then fill a clean glass carboy and add yeast. Brewers call this "pitching".
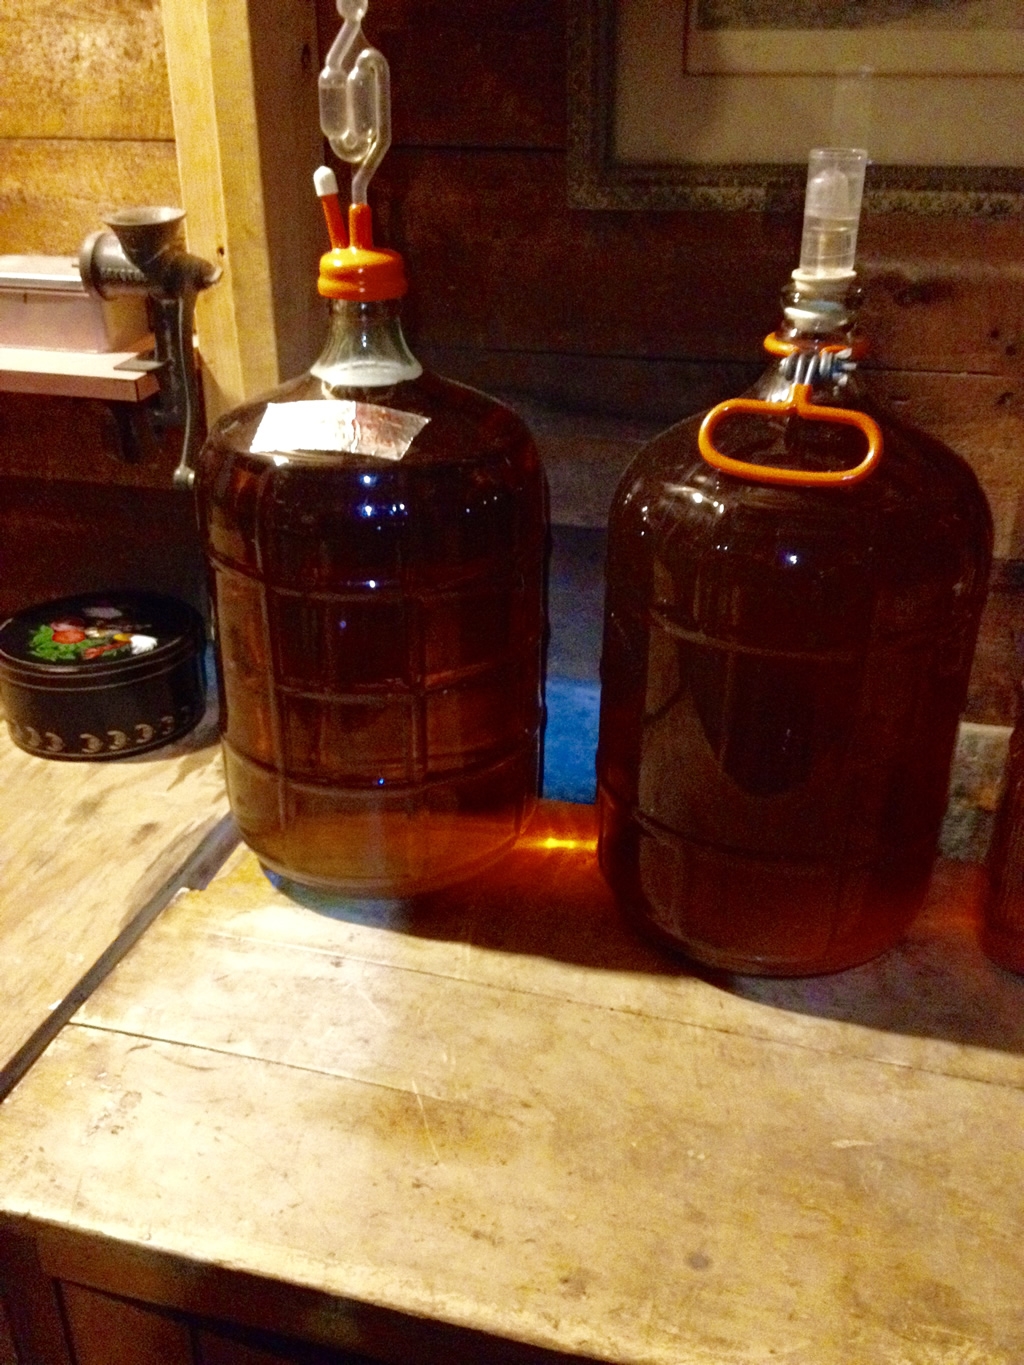
Yeast converts the sugars to alcohol, comes in many varieties and can be found at brewing and wine making supply shops. I've had good results from dry yeast packets including white wine, champagne and American ale varieties. You will also need an air-lock or blow-off tube at the top of the carboy and make sure to note and respect the ideal temperature range. A cool basement at about 60 degrees F is fine.
Keep the carboy covered as UV light can spoil the goods and lead to off flavors.
The primary fermentation will take anywhere from a few weeks to a few months. Check the carboy regularly and you will be able to tell when fermentation settles down. Then carefully transfer the cider to a large pot or another carboy. The brewing world has developed a wonderful device for this very purpose called a siphon or racking cane (brewing jargon for this process is called "racking"). The idea is to remove the cider from the bed of dead yeast which has sunk to the bottom of the vessel. Let the cider rest for another week or two and repeat the process and you should be left with a relatively clear cider.
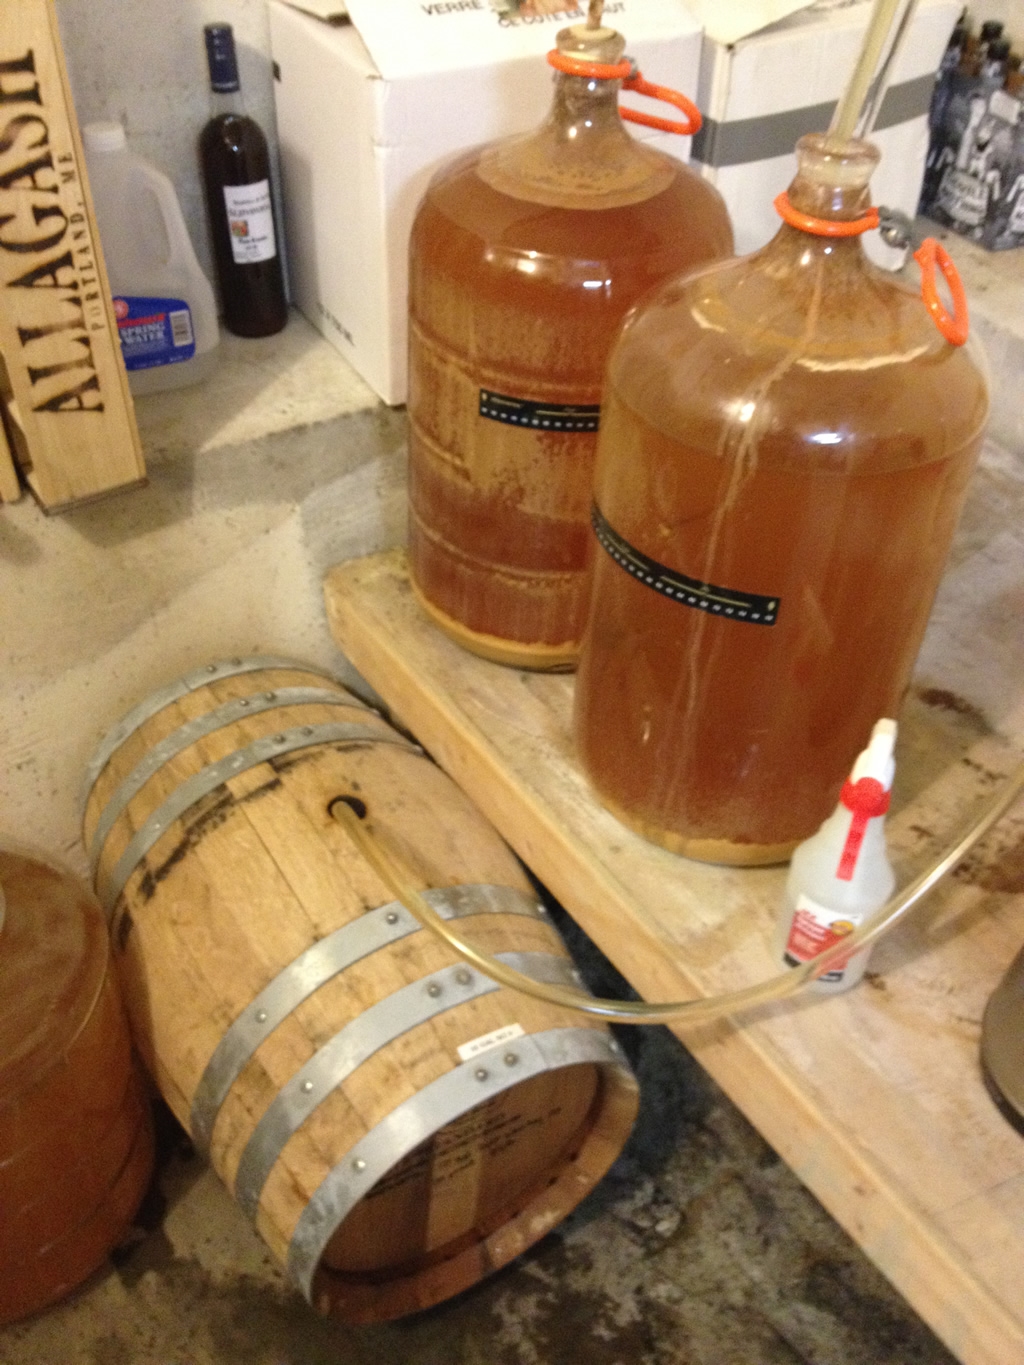
At this point, the cider is done but not carbonated, also referred to as "still". If you want to bottle it off, you can also add some brewer's sugars to the mix, which will create carbonation after about 3 - 4 weeks. There is nothing like a dry, tart, sparkling cider!
Experiment with adding other fruits, honey or herbs; even hops. Racking into used whiskey or other spirts barrels is another way to add flavors. But to start, keep it simple and you will quickly get hooked on this seasonal celebration of the harvest.
Cheers!